
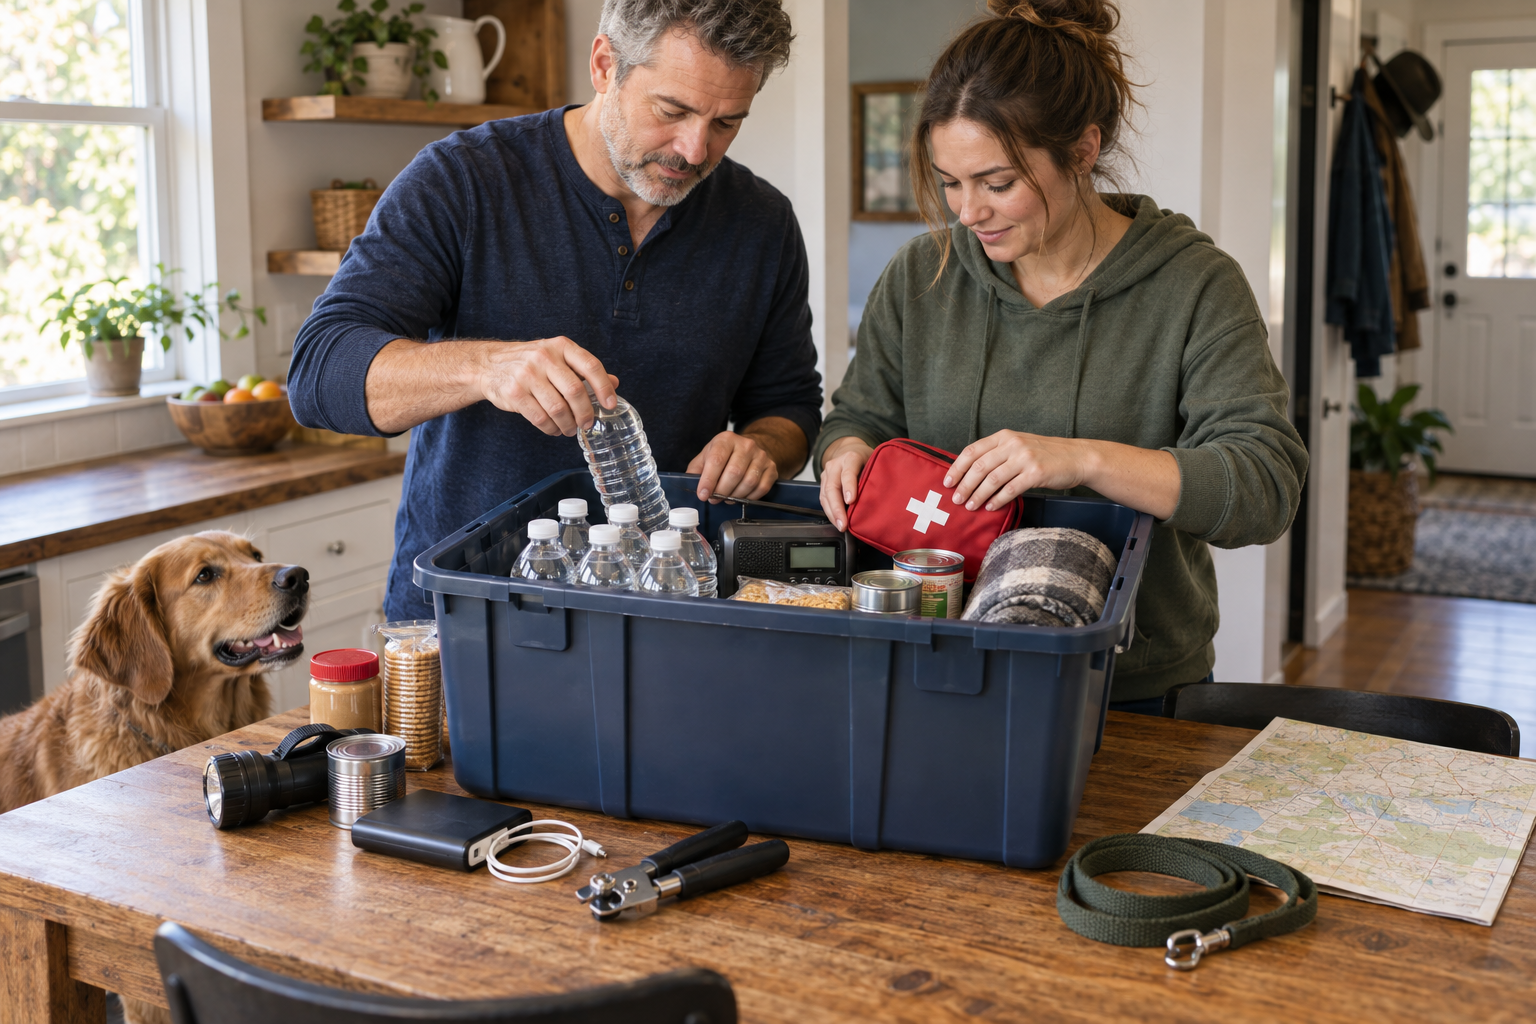
Most people already have the beginnings of an emergency kit somewhere in the house.
There may be a flashlight in the kitchen drawer, a few cans of food in the pantry and a phone charger on the nightstand. The problem is that those things may be scattered across five rooms—and no one wants to search for them after the lights go out.
A 72-hour emergency kit brings the basics together so your household can get through the first three days of a power outage, water interruption, evacuation or other disruption.
You do not need to buy everything today. You do not need a closet full of survival gear, either. Start with what your household would actually need, gather what you already own and fill the important gaps from there.
Quick Answer
Start with enough water and familiar food for three days. Add medications, first-aid supplies, dependable lighting, a way to receive local information, basic hygiene items and anything your family or pets use every day.
Keep the smaller essentials together in a container you can move. Store water and other heavy supplies beside it in sizes you can lift. Check everything every six months so the kit is still useful when you need it.
Think of 72 hours as a strong beginning—not the end of your household preparedness.
What Should a 72-Hour Kit Help You Do?
Picture the first evening of a long power outage.
The house is dark. Your phone battery is dropping. The refrigerator is no longer keeping food cold, and the stores may be closed. If the water system is also affected, you may not be able to drink safely from the tap.
Now imagine needing to leave home with very little warning.
A useful emergency kit should make both situations easier. It should give you the basics to remain at home, but it should also be organized well enough to take with you if local officials order an evacuation.
That does not mean forcing everything into one enormous tote.
Water is the clearest reason why. Three days of water weighs about 25 pounds for each person. A family of four needs at least 12 gallons, weighing roughly 100 pounds before a single can of food or flashlight is added.
A more useful setup is simple:
- Keep flashlights, a radio, first aid, documents and other smaller essentials together.
- Store food in a second container if needed.
- Keep water beside the kit in containers that can be moved one at a time.
- Give each person a smaller grab-and-go bag if your evacuation plan calls for one.
The goal is not to fit your household into a backpack. The goal is to know where everything is and be able to move it without unpacking half the house.
Start With the People in Your Home
Before making a shopping list, think about who will depend on the kit.
Write down every person and pet in the household. Then think through an ordinary day for each one.
Who takes daily medication? Who wears glasses or hearing aids? Is there a baby, an older adult or someone with limited mobility? Does anyone have food allergies or medicine that must stay cold? What would your pets need if you had to leave home?
These are often the items that matter most—and the ones a store-bought kit cannot provide.
A generic list can remind you to buy batteries. It cannot know that someone in your home needs a certain medication, your child will only eat a few shelf-stable foods or your dog needs a carrier large enough to use comfortably.
If you have not completed this household review, begin with Household Emergency Preparedness: Start With the Basics. Your emergency kit should grow out of that plan.
1. Begin With Water
Water takes up the most space, but it should not be the item you plan to find at the last minute.
The Centers for Disease Control and Prevention recommends storing at least one gallon of water per person per day for three days. That includes water for drinking, preparing food, brushing teeth and other basic needs.
The calculation is straightforward:
Number of people × 3 days × 1 gallon = minimum number of gallons
That means:
- One person needs at least 3 gallons.
- Two people need at least 6 gallons.
- Four people need at least 12 gallons.
- Six people need at least 18 gallons.
Pets, hot weather, pregnancy and illness may increase the amount your household needs. Once the three-day supply is in place, the CDC recommends trying to build toward two weeks of water when space and circumstances allow.
Unopened commercially bottled water is the easiest place to start. Keep it in a cool location away from sunlight, gasoline, pesticides and other chemicals. Follow the dates printed by the manufacturer.
If you fill your own containers, use food-grade water-storage containers and follow the CDC instructions for cleaning, sanitizing and storing them. Write the filling date on each one and replace the water every six months.
Avoid one container so large that no one can move it. Several smaller containers are easier to carry, rotate and share.
Ready Chateau Tip
Keep a small amount of water with the items you would grab first. Store the rest directly beside the kit. If you need to leave, you can load the water one container at a time instead of hunting through the garage or pantry.
2. Shop Your Pantry for Food
Emergency food does not have to come in a bucket with a 25-year shelf life.
Start in your own pantry. Look for food your household already eats that can be stored safely and prepared with little or no cooking.
Good choices may include:
- Ready-to-eat canned food
- Nut or seed butter
- Crackers and cereal
- Dried fruit
- Protein or snack bars
- Shelf-stable meals
- Shelf-stable milk
Choose enough for at least three days. Include food that fits any allergies, medical needs or dietary restrictions in the household. If something comes in a can, put a manual can opener in the kit.
Try not to depend on food that needs a great deal of water or fuel to prepare. During an outage, both may be harder to replace than expected.
Most importantly, store food people will eat. An emergency is a poor time to discover that no one likes the expensive meals packed away for the occasion.
Our guide to building an emergency food supply without wasting money explains how to add food gradually and rotate it through your normal meals.
Include familiar food for pets as well. A frightened or stressed animal may not handle a sudden change in diet very well.
3. Take Care of Health Needs
A basic first-aid kit belongs in every emergency kit. It will not, however, replace the health items your household depends on every day.
Think about adding:
- Prescription medications
- A current medication list and copies of prescriptions
- Over-the-counter medicine your household normally uses
- Glasses, contact-lens supplies and hearing-aid batteries
- Allergy and medical information
- Mobility or communication aids
- Menstrual products
- Infant supplies
- A thermometer
- Sunscreen and insect repellent when appropriate
- Masks suited to your household needs and local risks
The American Red Cross recommends keeping a seven-day supply of medications and medical items. That may not be as simple as buying an extra bottle. Refill limits, insurance rules and storage requirements vary, so ask the prescribing clinician or pharmacist what is practical for each medication.
Keep prescription labels and dosing instructions with the medicine. Do not move pills into an unmarked bag or container that could be confusing during an already stressful day.
Medicine that requires refrigeration needs its own plan. Ask the pharmacist how cold it must remain, how long it can safely be outside that range and what kind of cooler or backup power is appropriate. Write the instructions down while everything is calm.
Do the same for medical equipment that relies on electricity. Know what powers it, how long the backup lasts and what you will do if the outage continues.
4. Make Sure You Can See, Charge and Listen
When the power goes out, a working flashlight is more useful than three dead ones in a drawer.
Gather:
- Flashlights or headlamps
- A battery-powered or hand-crank radio
- A NOAA Weather Radio if possible
- Spare batteries in the right sizes
- Phone-charging cables
- A charged USB power bank
- Important phone numbers written on paper
- A local paper map
Use flashlights instead of candles. An open flame creates another hazard when people are walking through a dark house or dealing with storm damage.
Store the correct cable with every rechargeable device. This sounds obvious, but a full power bank cannot help much when its cable is somewhere in a bedroom drawer.
Save local maps and emergency information on your phone before severe weather arrives. Keep paper backups too. A charged phone may still be unable to reach the internet or cellular network.
5. Add Enough Comfort to Get Through the Disruption
You do not need to move the entire bathroom cabinet into the emergency kit. You do need enough to keep everyone reasonably clean, warm and comfortable.
Start with:
- Toilet paper
- Moist towelettes
- Hand sanitizer and soap
- Toothbrushes and toothpaste
- Heavy-duty garbage bags and ties
- Disposable gloves
- Paper towels
- A change of clothing
- Sturdy shoes and work gloves
- Rain protection
- Blankets or sleeping bags for the season
If your plan includes an emergency toilet or another way to handle waste when water service stops, keep the necessary supplies together. It is much easier to understand that setup before you need it.
If wildfire smoke, ash or airborne debris is a concern where you live, consider properly fitting N95 respirators. Use them only for the hazards they are designed to address. They do not supply oxygen or make it safe to enter a dangerous area.
6. Protect the Information You May Need
During an evacuation, a few pieces of paper can save hours of frustration.
Place copies of the most important documents in a waterproof pouch or sealed bag. Your household may need:
- Identification
- Insurance information
- Medication and medical information
- Emergency contacts
- Proof of address
- Pet vaccination and ownership records
- Evacuation routes and meeting locations
Secure digital copies are useful too, but do not make internet access your only way to reach them.
Keep a modest amount of cash in small bills. ATMs and card readers may not work when power or communication systems are down.
A few simple tools can also help:
- A multipurpose tool
- A whistle
- Duct tape and scissors
- Spare house and vehicle keys
- A pencil and notepad
- A wrench or pliers if they are part of your household plan
Do not shut off natural gas simply because the electricity fails. Learn the correct procedure from your utility and follow local instructions. Once gas has been turned off, the utility or a qualified professional may need to restore it.
7. Remember the Needs No Checklist Can Predict
Now go back to the people and pets you listed at the beginning.
For a baby or young child, that might mean diapers, wipes, formula or safe food, extra clothing and one familiar comfort item.
For an older adult or someone with a disability, it might mean batteries for adaptive equipment, a communication aid, an extra cane, medical documents or contact information for someone who can help. The CDC recommends reviewing individual emergency kits every six months because those needs can change.
For a pet, consider:
- Food, water and bowls
- Medications and instructions
- A leash, harness and current identification
- A carrier
- Waste bags or litter supplies
- Veterinary and vaccination records
- A familiar blanket or toy
Keep the carrier where you can reach it. A carrier buried behind holiday decorations will not help when a nervous animal needs to leave quickly.
Give Everything a Sensible Home
Clear plastic bins make supplies easy to see. Backpacks and duffel bags are easier to carry. Use whatever combination works for your household.
Label the containers in plain language: WATER, FOOD, MEDICAL, PET and CORE KIT. Store them together near an exit you could realistically use, but avoid any place that becomes extremely hot, freezes, floods or contains fuel and chemicals.
Keep the things you may need first near the top. Put documents and medications in waterproof pouches. Keep loose batteries away from coins, keys and other metal objects. Store gasoline, propane cylinders and similar fuels somewhere safe and appropriate—not inside the emergency kit.
Then show everyone where the kit is. A perfectly organized tote is not useful if only one person knows it exists.
Build the Kit Without Turning It Into a Major Project
If the complete list feels overwhelming, finish it in three short rounds.
First: Walk Through the House
Choose your containers. Gather the flashlights, radio, charging cables, first-aid supplies, hygiene items, spare keys and documents you already have.
Second: Fill the Important Gaps
Store the right amount of water. Add three days of food, necessary medications, batteries, a power bank and the personal supplies your household needs.
Third: Try Everything
Turn on the flashlights and radio. Charge a phone with the power bank. Make sure you can open the food. Lift every container. Label everything and write the next review month on the outside.
You do not have to complete all three rounds in one day. What matters is making steady progress until the basics are covered.
After the 72-hour kit is ready, use the Complete Home Emergency Preparedness Checklist to decide what comes next. You can build toward a longer at-home food and water supply as your space, budget and local risks allow.
Avoid These Common Mistakes
Buying a ready-made kit and never opening it. It may contain useful basics, but it will not know your medications, diet, pets, climate or family size.
Making one container too heavy to move. Divide water, food and other supplies into sizes you can handle.
Packing canned food without an opener. Make sure every food item can actually be opened and served.
Relying on one light. Keep more than one flashlight or headlamp and check the batteries.
Forgetting the cables. Keep the right charging cable with each device.
Choosing a poor storage location. A hot garage, damp basement or flood-prone closet can ruin supplies before you need them.
Focusing on survival gadgets instead of daily needs. Prescriptions, glasses, pet supplies and sturdy shoes will often matter more.
Finishing the kit and forgetting it. Food gets old, batteries leak, children outgrow clothing and medications change.
Check the Kit Twice a Year
Choose two easy-to-remember months and review the kit every six months. Also give it a quick check before hurricane season, winter weather or another predictable local threat.
During the review:
- Check the dates on food, water, medicine and batteries.
- Replace damaged, leaking or used items.
- Recharge power banks and other devices.
- Turn on every flashlight and radio.
- Update documents and emergency contacts.
- Change clothing for the season and replace anything that no longer fits.
- Review the needs of children, older adults, people with disabilities and pets.
- Make sure every container is still easy to reach and move.
Write the next review month on the outside of the kit before you put it away. That small step is more reliable than hoping someone remembers six months from now.
The Bottom Line
The best 72-hour emergency kit is not the one with the most gear. It is the one that fits the people in your home and is ready when something interrupts an ordinary day.
Begin with three days of water and food your household already knows. Add medication, first aid, lighting, communication, basic hygiene, important documents and the personal supplies no generic checklist could choose for you.
Keep it together. Keep it manageable. Check it twice a year.
You are not trying to prepare for every possible disaster in one shopping trip. You are giving your household a calmer, safer place to start when normal life is suddenly interrupted.
Building a 72-hour kit is an important start. Use the free Ready Chateau Home Preparedness Checklist to review the rest of your household’s emergency preparations.