
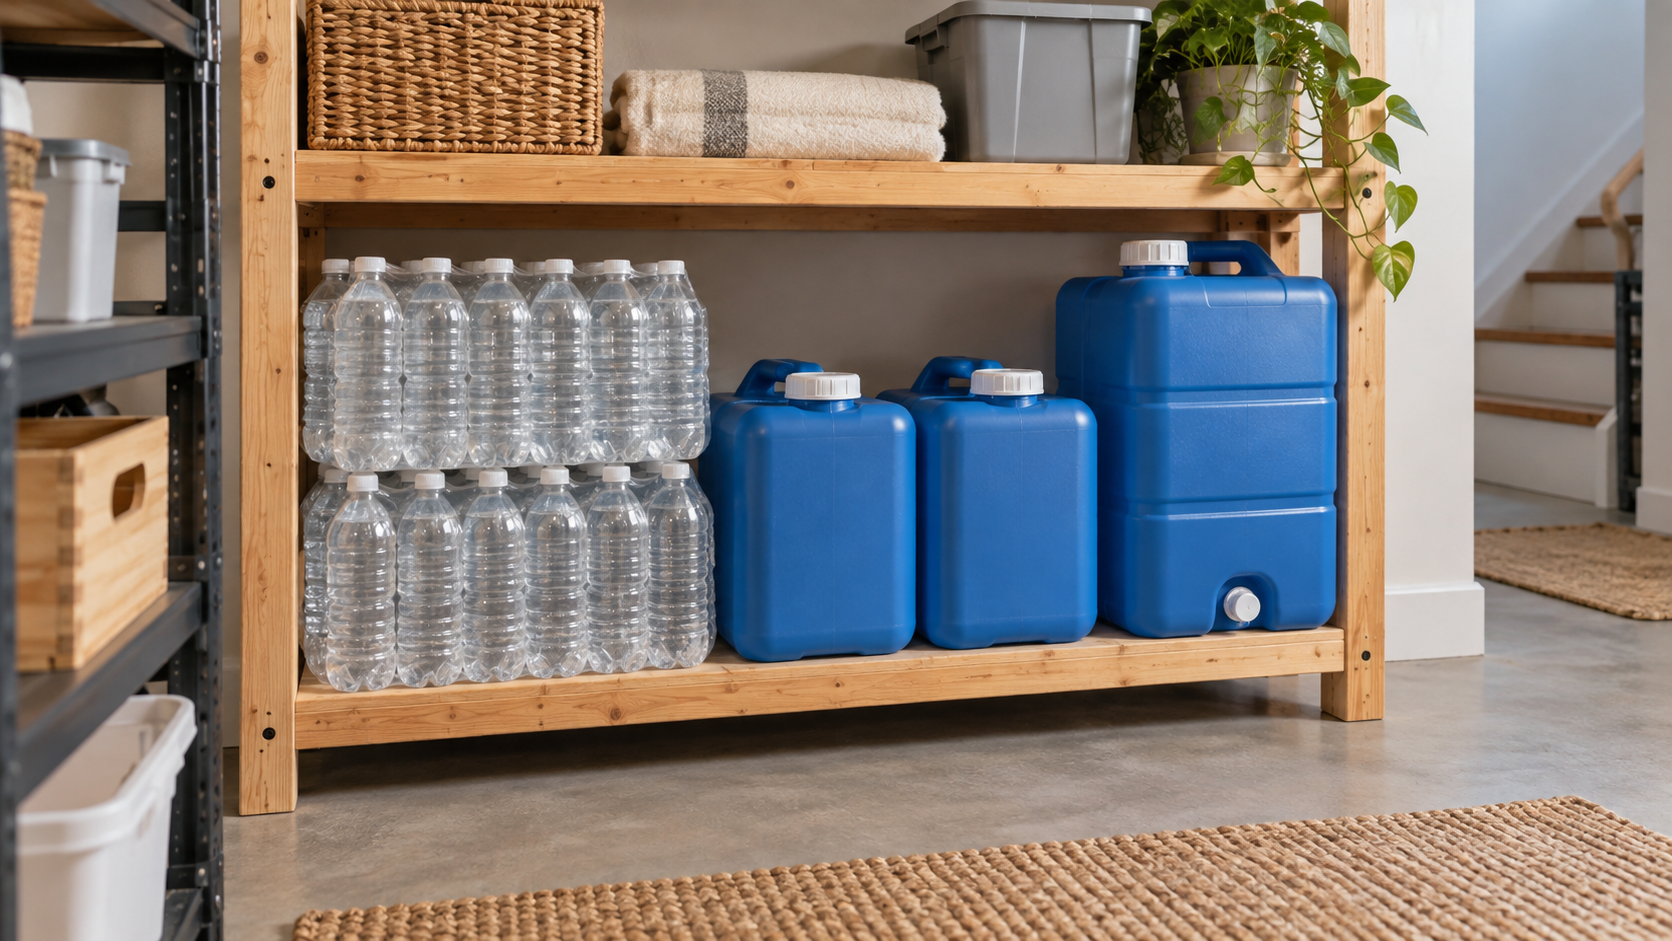
Emergency water is only useful if it is safe to drink, protected from contamination and stored where you can actually reach it. A row of containers in the garage may look prepared, but heat, chemicals, damaged seals or containers that are too heavy to move can undermine the entire supply.
A sound storage plan does not require a basement full of specialized equipment. It requires safe water, the right containers, a suitable location and a rotation routine simple enough to maintain.
If you have not calculated your target yet, start with how much emergency water your household needs. Once you know the number of gallons, this guide will help you store them correctly.
The Short Answer
The simplest approach is to keep unopened commercially bottled water and follow the manufacturer’s storage guidance. If you fill your own containers, use food-grade water-storage containers, clean and sanitize them first, fill them with safe tap water, close them tightly, label and date them, and replace the water every six months.
Store all emergency water in a cool place away from direct sunlight and away from gasoline, pesticides, cleaners and other toxic substances. Divide the supply among manageable containers and more than one safe location.
Start With Safe Water
The CDC describes unopened commercially bottled water as the safest and most reliable emergency source. It is sealed at the factory, easy to distribute and requires no container preparation. For many households, cases of bottles or factory-sealed jugs are the easiest way to establish the first three days of supply.
Commercial water still needs sensible storage. Keep it in its original sealed container, protect it from heat and sunlight, and observe the date and storage instructions provided by the manufacturer.
Home-filled water can be practical when you need larger quantities or want reusable containers. Begin with water that is safe to drink. If your public water supply is treated, the CDC says it can be placed in clean, sanitized containers and sealed. If you use a private well or have any reason to question the water, follow your local health department’s advice before storing it.
Do not treat routine storage and emergency water treatment as the same job. Water collected after a flood, from an uncertain source or during a drinking-water advisory may require boiling, disinfection or another response directed by local officials. Boiling or disinfecting water can kill many disease-causing organisms, but it does not remove heavy metals, salts or most chemicals.
Choose Containers Made for Drinking Water
For home-filled water, use containers identified by the manufacturer as food-grade and intended for water storage. A suitable container should be durable, unbreakable, able to close tightly and, when possible, have a narrow opening that limits hand contact and makes pouring easier.
Never use a container that previously held bleach, pesticides, fuel or another toxic substance. Washing does not make that container appropriate for drinking water.
Container size matters as much as material. One gallon of water weighs about 8.3 pounds. A five-gallon container holds roughly 42 pounds of water before the container itself is counted. Larger barrels can be efficient, but they become permanent fixtures once filled.
A mixed-size supply works well for most homes:
- Small bottles are easy to carry, share and place in an evacuation kit.
- One- or two-gallon containers are manageable for many adults and fit into several storage areas.
- Five- to seven-gallon containers reduce the number of packages but require more lifting strength.
- Large drums conserve floor space, but they need a stable location and a compatible hand pump or spigot.
Do not make your entire supply dependent on one large container. A failed cap, cracked seam or contaminated opening should not jeopardize every gallon you own.
Clean and Sanitize Reusable Containers
A new container should not be assumed clean simply because it came from a store. Follow the manufacturer’s instructions first. If the container is designed for home-filled drinking water and does not require another method, the CDC provides this process:
- Wash the container with soap and rinse it completely with water.
- Mix 1 teaspoon of unscented liquid household chlorine bleach containing 5% to 9% sodium hypochlorite with 1 quart, or 4 cups, of water.
- Pour the sanitizing solution into the container, close it tightly and shake it so the solution touches every inside surface.
- Wait at least 30 seconds, then pour out the solution.
- Allow the empty container to air-dry.
- Fill it with safe water and close the lid tightly.
Safety First
That bleach mixture is for sanitizing the empty container. It is not a general formula for treating an uncertain water supply. If emergency water must be disinfected, use the current CDC or EPA instructions for the exact bleach concentration and water condition.
Fill Without Recontaminating the Container
Clean hands, a clean work surface and a clean filling method matter. Do not touch the inside of the cap, opening or container. Avoid resting the cap on a dirty counter while filling.
Fill the container as directed by its manufacturer and leave any required expansion space. Close it immediately and check that the cap, gasket and spigot are secure. Wipe the outside dry so a small leak will be easier to spot.
Label every home-filled container with “Drinking Water” and the date it was filled. If you keep separate water for toilet flushing or cleanup, label that supply just as clearly so it cannot be confused with drinking water.
Choose the Storage Location Before You Fill
Water becomes difficult to move quickly. Decide where a container will live before adding forty, one hundred or several hundred pounds to it.
The CDC recommends a cool storage temperature of about 50°F to 70°F, away from direct sunlight and away from toxic substances such as gasoline and pesticides. An interior closet, pantry, conditioned basement or another clean, temperature-stable space is usually a better choice than a hot attic, sun-exposed shed or garage corner beside fuel and lawn chemicals.
Use these placement rules:
- Keep containers off weak or questionable shelving. Put heavy water low, on a stable floor or on shelving rated for the load.
- Protect containers from freezing, excessive heat, sharp objects and anything that could puncture or crush them.
- Leave enough room to inspect caps, seams and the floor beneath the containers.
- Keep a small accessible supply on the main living level rather than placing every gallon behind boxes or down a difficult stairway.
- Divide the supply between two safe locations when possible so one leak, obstruction or damaged room does not eliminate all of it.
- If your area is prone to flooding, avoid placing the full supply directly on the lowest floor where contaminated floodwater could reach it.
The goal is not a perfect storage room. It is a location that protects the water and still allows someone in the household to use it.
Plan How You Will Dispense It
A sealed container protects water only until you open it. Once it is in use, keep hands, cups and scoops out of the water. Pour from the container, use its clean spigot or use a compatible pump.
If a scoop is necessary, the CDC advises using a clean one each time and avoiding contact between hands and the stored water or the inside of the container. Do not dip a used drinking cup back into the supply.
Test pumps and spigots before the emergency. A full barrel without a working pump is not an accessible water source. Keep the required wrench, hose or replacement cap with the container rather than in another room.
Build a Rotation Routine You Will Keep
The rotation rule depends on how the water was packaged. For unopened commercially bottled water, observe the manufacturer’s date and storage guidance. For water you fill at home, the CDC recommends replacing it every six months.
Choose two memorable months six months apart and add water rotation to your household calendar. At each check:
- Confirm the label and fill date are readable.
- Inspect the cap, gasket, seam, spigot and surrounding floor for leaks.
- Look for damage, cloudiness, floating material or anything else unusual.
- Replace home-filled water that has reached six months.
- Check commercially bottled water against its manufacturer’s guidance.
- Make sure pumps, spigots and other dispensing supplies are clean and present.
Do not taste suspicious water to decide whether it is safe. If a seal has failed, the container is damaged or the water may have been exposed to chemicals or floodwater, do not use it for drinking.
Common Storage Mistakes
- Using ordinary household containers without checking whether they are food-grade.
- Reusing milk jugs or other thin containers that are difficult to clean well and prone to leaking.
- Placing every gallon in one container or one location.
- Storing water beside gasoline, pesticides, paint, cleaners or other chemicals.
- Putting heavy containers on shelving that was never designed for the load.
- Filling a large barrel before deciding how it will be emptied.
- Forgetting the date and allowing home-filled water to sit indefinitely.
- Assuming a filter will make chemically contaminated water safe.
A Practical Setup for Most Households
Begin with the three-day minimum rather than waiting until you can build the ideal supply. Unopened bottled water can cover that first layer quickly. Then add food-grade reusable containers or more sealed water as you work toward a longer home supply.
Keep some small containers for evacuation and easy daily use. Add medium containers that household members can lift. Use a large container only when its filled location, floor capacity and dispensing method are already settled.
Finally, connect the storage plan to a twice-yearly inspection. Correct storage is not a one-time purchase. It is a small household system: calculate, containerize, protect, label, inspect and rotate.
If you already have water stored, review how long stored water lasts and decide which containers need inspection or replacement now.
The Bottom Line
The right way to store emergency water is straightforward: start with safe water, use sealed commercial packaging or clean food-grade containers, keep it cool and away from sunlight and chemicals, divide it into usable sizes, label it, and rotate home-filled water every six months.
A modest supply stored correctly is more useful than a larger supply that is contaminated, inaccessible or forgotten. Meet the three-day minimum first, then strengthen the system one container at a time.